Photo to oil painting – Gimp tutorial
Every so often I get frustrated at all the things I can’t do as someone who isn’t able to draw and must content themselves with photoshopping pictures. (Where “photoshopping” in my case = “manipulating using the Gimp”) There are so few available pictures of people in historical clothes out there, that I’m really going to have to find some method for taking modern pictures and making them look old.
So today I thought I’d start small and see if I could take a modern photo of a guy in a modern Arabic headscarf and turn him into an oil painting of a man in a turban which might do for something historical.
From 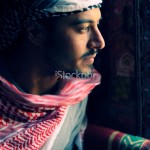 to
to 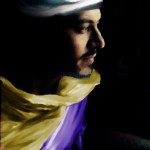 in five fairly longwinded stages.
I started off with this, from which I removed as much of the watermark as possible (just because it looked unsightly, not because I intend to use the photo for anything afterwards.)
Then I got a big round brush and smudged all the lines of his scarf and his headcloth. You can see where I’ve started here, and I just carried on until the scarf was all pink, the headcloth was a more turban-like shape, and that distinctive lozenge shaped weave was hidden.
After that, I changed to the path tool and marked around the edges of the scarf. Changed the path to a selection (using the “path to selection” button,) and then clicked on Colours>Colourise and fiddled around with the sliders until I had changed the colour of the scarf to yellow.
Then I deleted that path, made a new one around the grey/blue area of his jacket and repeated the same thing, but this time I made it purple. That left me with this:
(I smudged the sofa as well, because it didn’t look very historical.)
Something I did seemed to have washed out a lot of the colour from his face, and I wanted to get some increased saturation and contrast and to take away from the fact that it still looks like a photo. So I duplicated the layer and set it on Overlay. That gave me this:
I liked that, but I thought that his face was now more naturalistic than the rest of him – his clothes are smudgy and sweeping but his face is still very sharp. Also I thought that the colours were maybe a bit *too* bright now.
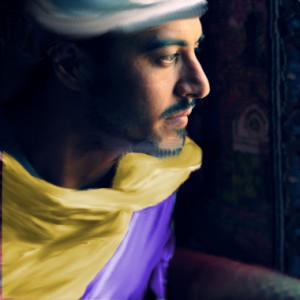
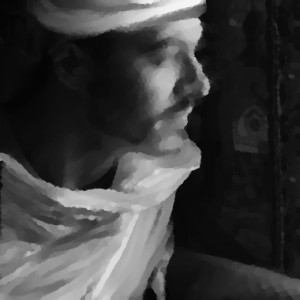
So I did a Copy Visible and pasted it as a new layer. Then I desaturated it to black and white and smudged his face quite a lot . Then I went to Filters>Artistic>Oilify and applied an oil-painting filter. That gave me this, which looks like a mess:
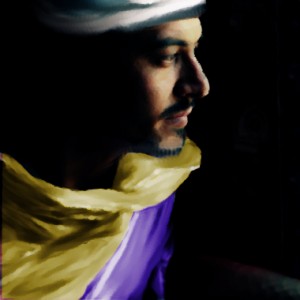
but then I set the whole layer to Multiply and the result was:
Where his face now looks equally painted as the rest of him. I’m quite pleased with that. It’s not exactly correct – the scarf probably ought not to be there at all, but at least he looks like he could conceivably be dressed a bit like one of these chaps http://www.uniformology.com/T-1.html who’s thrown on a scarf because it’s cold. So although not right, it’s better – which is all I’m aiming for at present.
I’m calling that a very positive result, and will see if I can apply the technique to other pictures to make them look vaguely historical too.


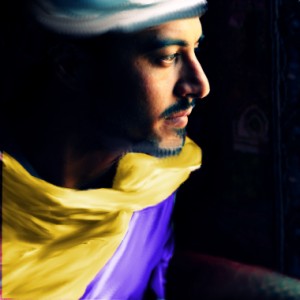
[…] Photo to oil painting – Gimp tutorial […]